
PREP TIME: 2 Minutes TOTAL TIME: 15 Minutes
- Dollar Tree Stackable Organizer
- Dollar Tree Ribbon (your preference)
- Computer with Word (or application that has the same functions)
- Printer
- Printer Paper
- 4″x4″ Picture
- Scissors
- Hot Glue Gun
- Glue Stick
There is no better way to exhaust the human spirit, than with the expression of art and love.
THE POPPIN MAMA

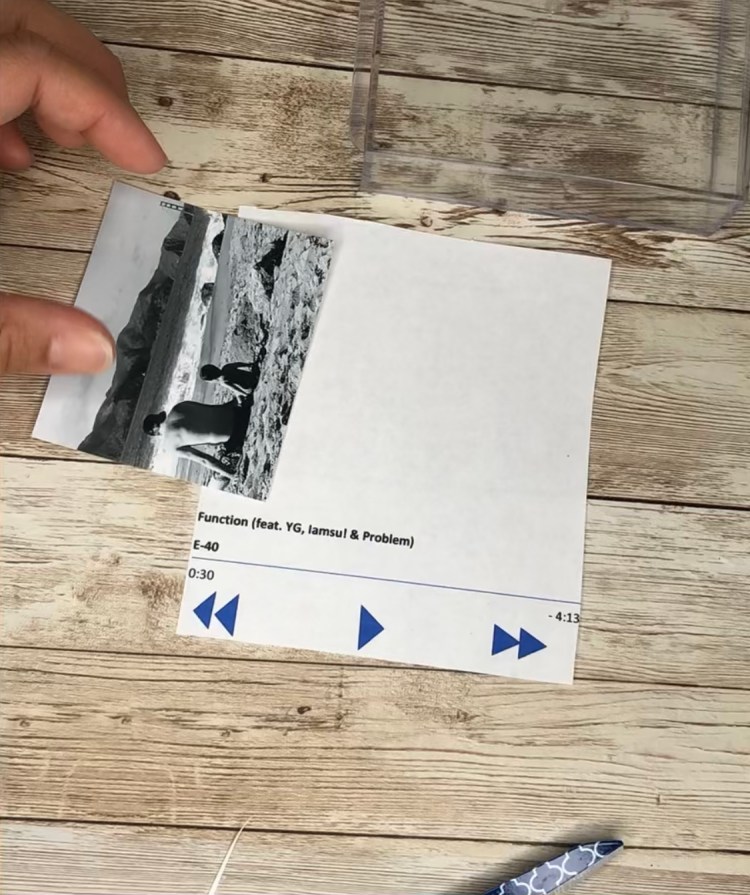


Step 1: Open Word and hit return until you reach the 4.5″ marker of the left ruler. Type in your wedding song in Arial size 12. Enter a hard return and write the name of the artist of the song in all caps.
Step 2: Insert a line from “shapes” and place it directly under the song name and artist (the default is blue, which is what I used). The line should be 4.5″ long, measuring with the ruler on the top of the page.
Step 3: Under the line, write how many seconds you want to show played then tab over to the end of the line and enter the total minutes of the song.
Step 4: Next you will insert a triangle from “shapes” and duplicate the triangle four times under the “time” of the song. Drag the first two triangles to under the total time of the song and rotate so that they are side-by-side and pointing with the longer end to the right (I made the triangle a little longer on one end to accomplish this). Repeat this for the left side right under “time played” and rotate the images so that the longer side is pointing towards the left of the paper. For the last triangle, place it under the middle of the line, ensuring it is is slightly larger than the double triangles.
Step 4: Print on computer paper, then place the stackable organizer on top of the paper with the “track song” all the way at the bottom of the long side, with about 3″ of space of the top. Cut along of the perimeter of the paper (this will be inserted into the organizer behind the drawer insert.
Step 5: Cut the 4″x4″ picture into a 3.5″x3″ square and glue it over the “track song” centering it from the edges of the rectangular paper you just cut.
Step 6: Place the paper and inside the drawer organizer and put the drawer insert inside of the organizer over the paper.
Step 7: Tie a bow and hot glue it to the knob of the drawer. Place as a shelf display or save as a bedside memento.

Leave a comment